It’s a beautiful time of year. Deciduous trees across the northern hemisphere are changing color as autumn gets underway. The change is awe-inspiring, but photographing fall color can be more challenging than what one might think. Over the years I have chased fall color and have been less-than-satisfied with my attempts at capturing the spectacle.
Here are a few tips and techniques I have learned from my mistakes to help you succeed in fall photography:
1. Plan ahead.
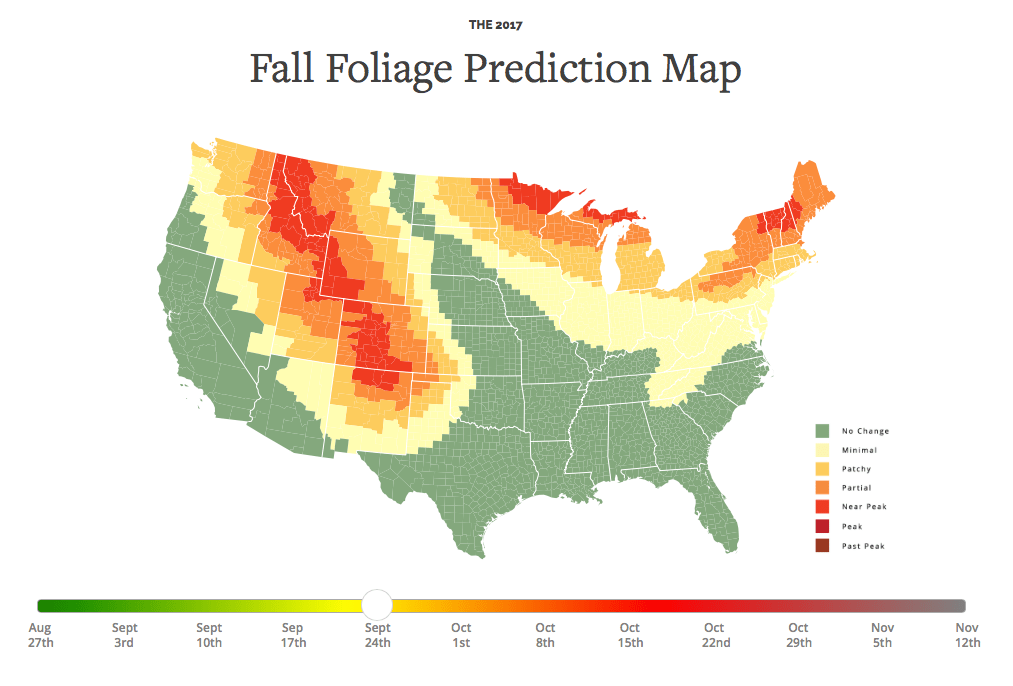
Use online resources like this Fall Foliage Map to determine when to plan your trip.
If you are new to an area, ask some of the locals about the best month, or week, to capture fall color. Different species of trees will change at different times. Elevation and location also have an affect on when trees change color.
Get a date reference from other photographers.
Look on social media and photo sharing sights like Instagram, Flickr, and 500px to see if there is any fall color near your location. Look for time and date info — even if the photo was from a previous year, noting the day of the month foliage change will help you get an idea of when to catch color in that area.
2. Gather the right gear:
I use a Fujifilm X-T2 with mostly wide to medium lenses: 23mm f1.4, 35mm f1.4 and 10mm f2.8. Really, any kit lens will do just fine. I don’t alway shoot with super wide angle lenses unless the scene calls for it. A macro lens can also be nifty.
Bring a sturdy tripod.
It doesn’t have to be heavy, just make sure it can support your camera and won’t fall over if it is windy.
Polarizing filters.
Use a polarizing filter that fits each lens you plan to use, or use step up rings to fit your filter to your various lenses. A polarizing filter helps bring out more contrast, darkens the sky, and adds a nice pop to your images.
Other gear:
Pack plenty of water, a light jacket and some snacks in case you go for a little walk away from your car.
Bring extra batteries, lens cleaning cloth and don’t forget to check your memory card!
3. Know your camera settings.
Make sure you are familiar with certain camera settings like: F-stop, ISO, and white balance. You may also want to know how adjust picture settings that affect the saturation, sharpness and contrast of jpeg images.
Picture settings.
Fujifilm offers what is called “Film Simulation” modes. I like to shoot either the Provia or Velvia modes for added contrast and saturation. Check your camera’s picture control settings, especially if you are shooting jpeg. This isn’t as critical if you are shooting in RAW mode.
F-Stop / Aperture.
Generally, for wide shots, you want to use a small f-stop (large number) f/7 or higher. This will help you create a greater depth of field so that foreground objects and background scenes are in focus.
ISO.
ISO setting to be low: 100 – 400 max. This means finer detail and better tones are captured in your daytime photos. Of course, you may have to compromise a little depending on available light. Most modern cameras show very little difference between ISO 200 and 1600.
White balance.
Avoid using auto white balance. All of the warm fall colors will trick your camera and you won’t capture same color that you see. I typically set the WB to “Sunny” (also known as “Daylight” or “Fine” for various camera brands) for the most accurate color, provided you are shooting under daylight. I like to warm up the colors a little further by setting the WB to “Cloudy,” which gives the colors a little more pop.
4. Location, Location.
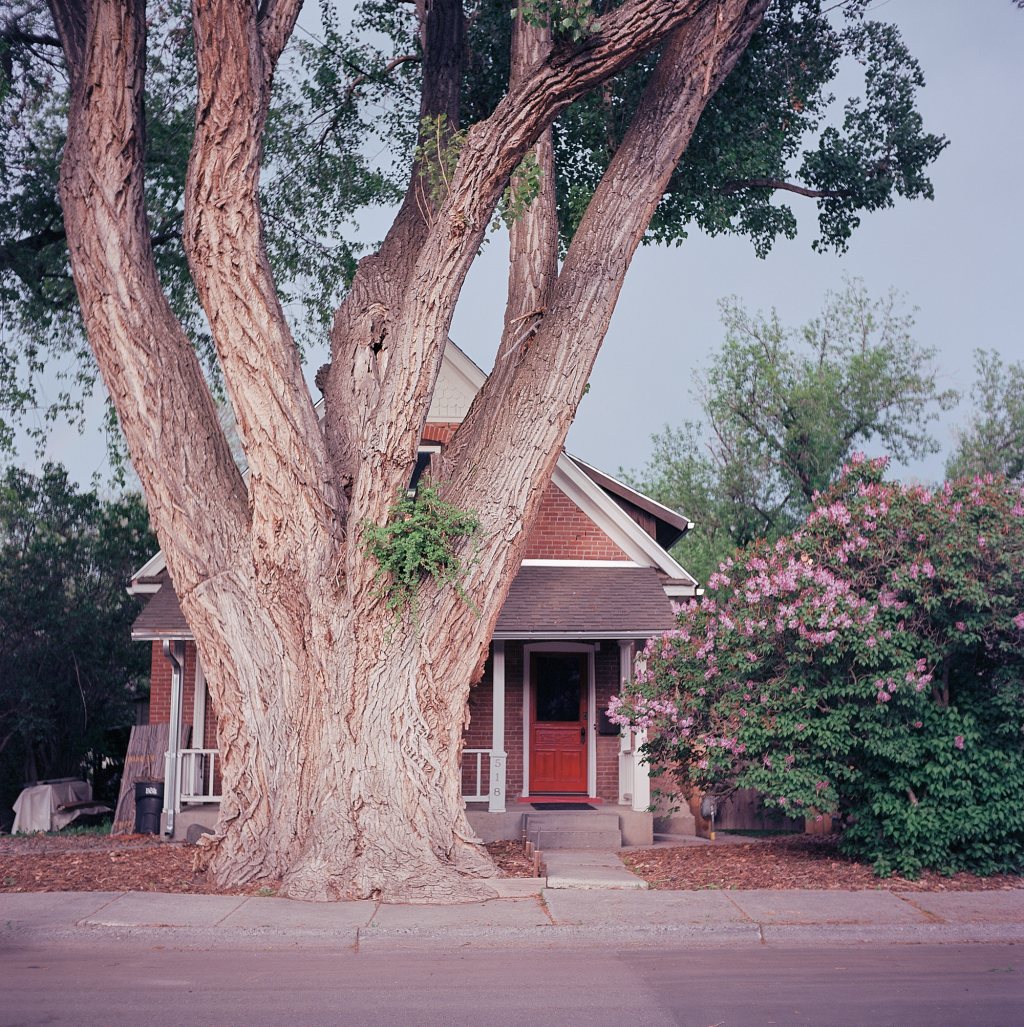
Not every stellar fall color photo has to be out in the countryside. I’ve captured some good photos in town, in my own back yard.
But if we are wanting to achieve landscape fall color photos, then a little drive out of town is required.
Wyoming isn’t exactly known for its fall color offerings, like, say, New England. I live less than an hour drive away from the Bighorn Mountains in northern Wyoming, there are plenty of aspen trees around to lend to landscape fall photography. Chances are that you too don’t live far from a state park, national forest or other recreational area with plenty of trees. Explore your area!
You may find some good fall trees on the farms and ranches across the countryside, most of which can be photographed from the road. To get the best results you may need to get permission from land owners to get a little closer to what you want to photograph. Always be respectful to property owners and do not trespass.
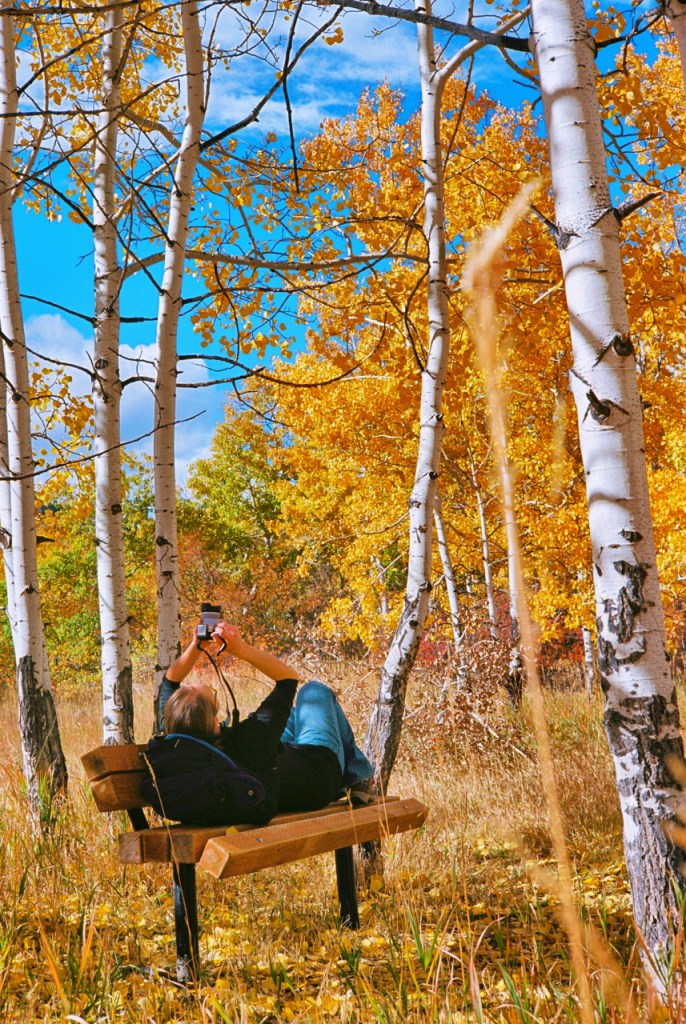
5. Be prepared to walk.
You will always find some great foliage from the roadside. But sometimes you will have to go on foot and hike for the best shots, especially if you are on public land, if you are able to walk, you have no excuse to not get out and explore different angles.
Speaking of angles…
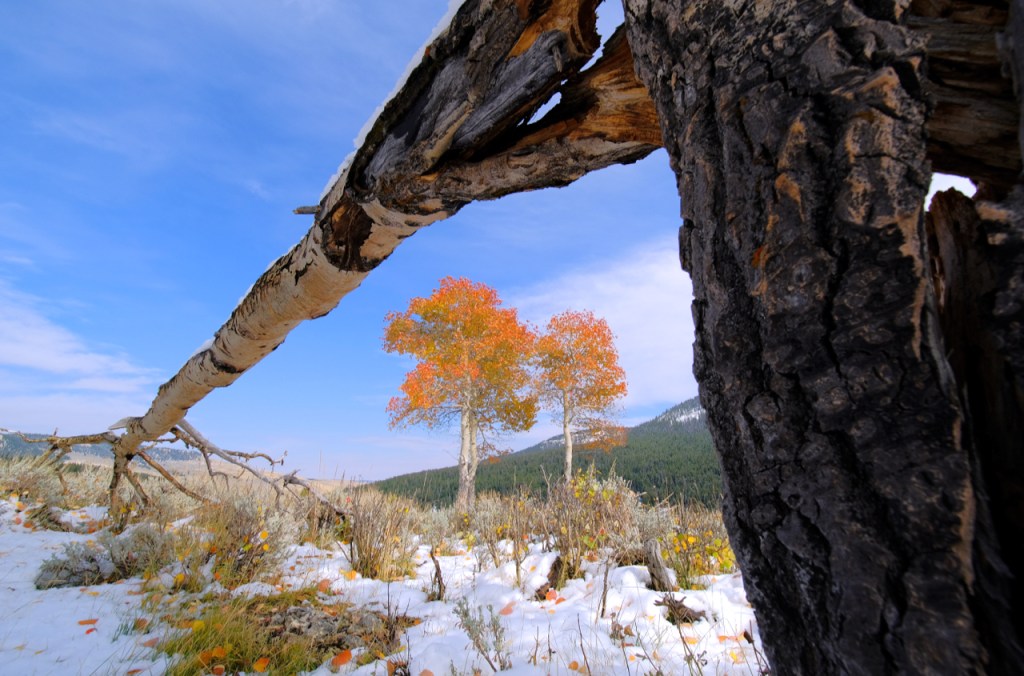
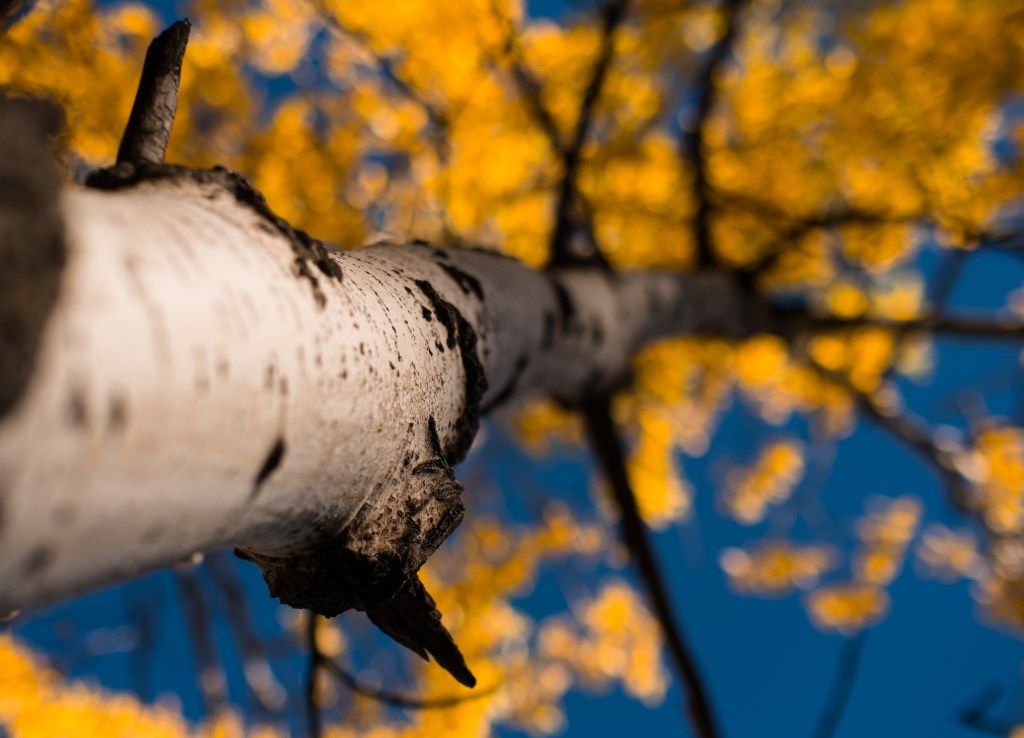
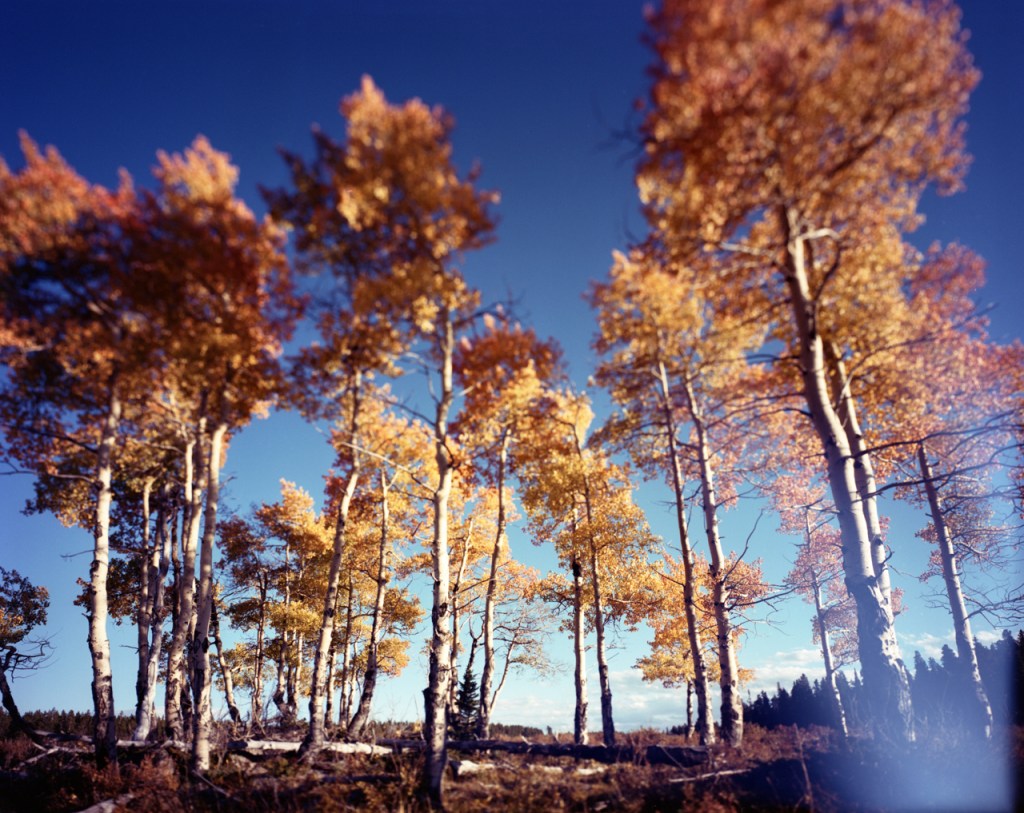
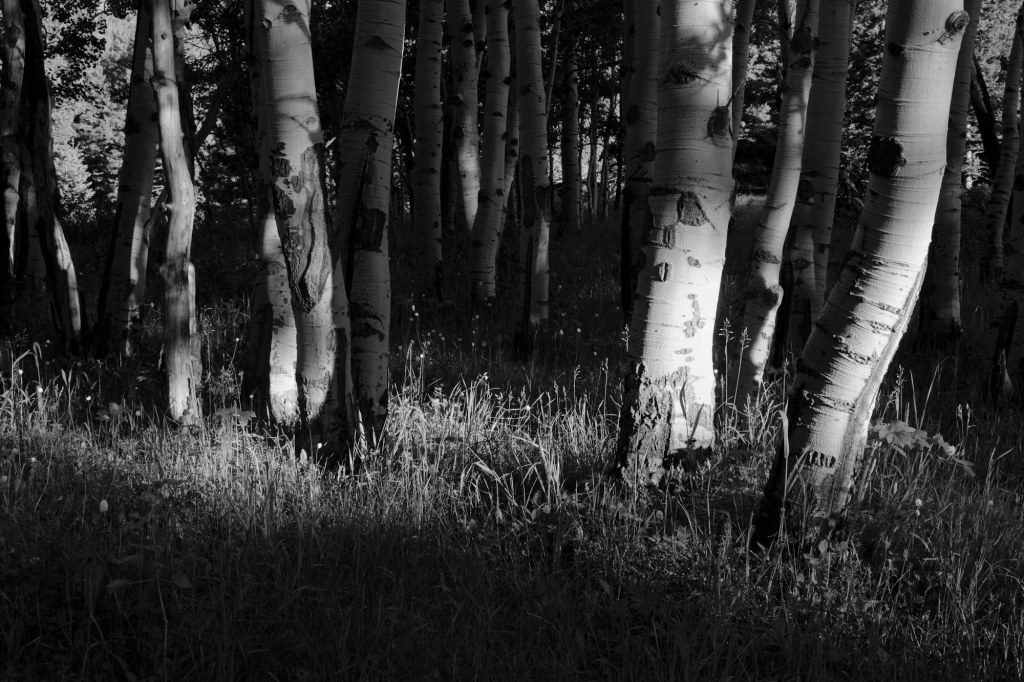
6. Explore different angles.
I love the lead images of this post because it is a different perspective than your typical photo describing fall color. Looking up the trunk of an aspen tree is fun and holds the viewer’s attention.
When I walk to a cluster of aspen trees in peak color I explore all of the possible angles, often without my camera. I roam around the trees, walk under them, walk away and maybe look for an interesting foreground element I could use. I try to spend as much time as possible with scene to make sure I walk away with some compelling images.
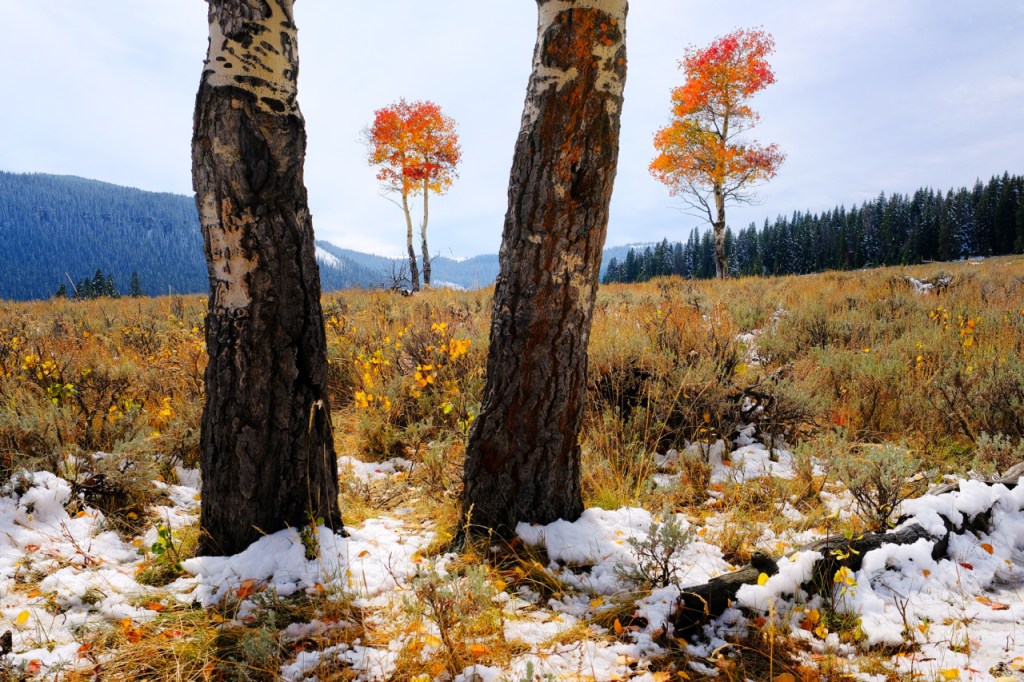
7. Exercise essential composition rules.
Rule of thirds, leading lines and framing are key to creating a good photograph. Shooting fall color landscapes is a good opportunity to practice these techniques.
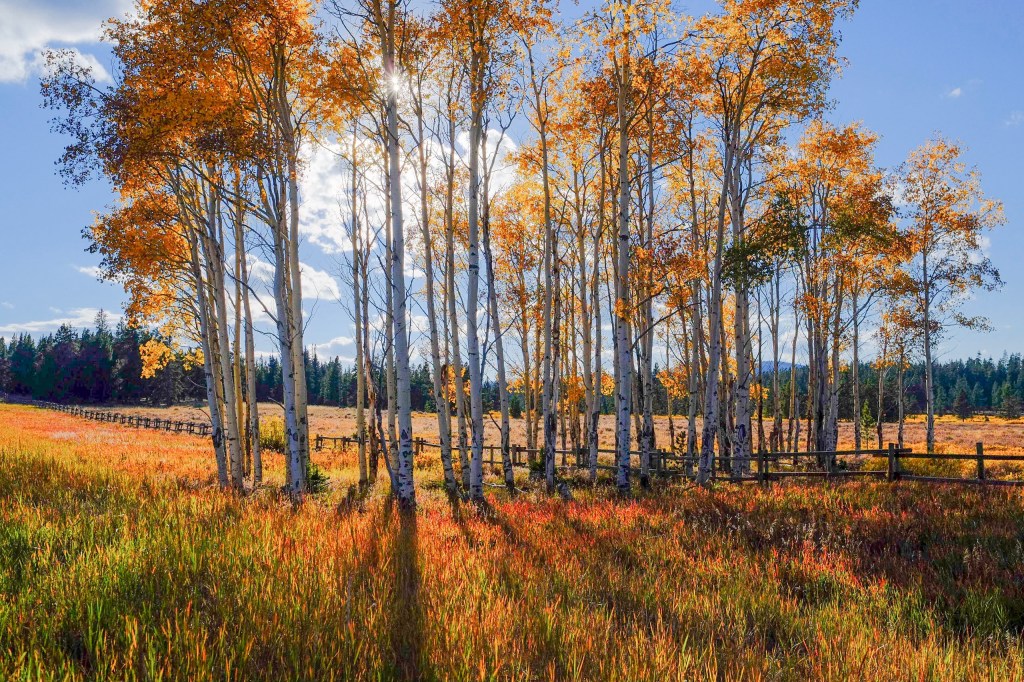
8. Light is everything.
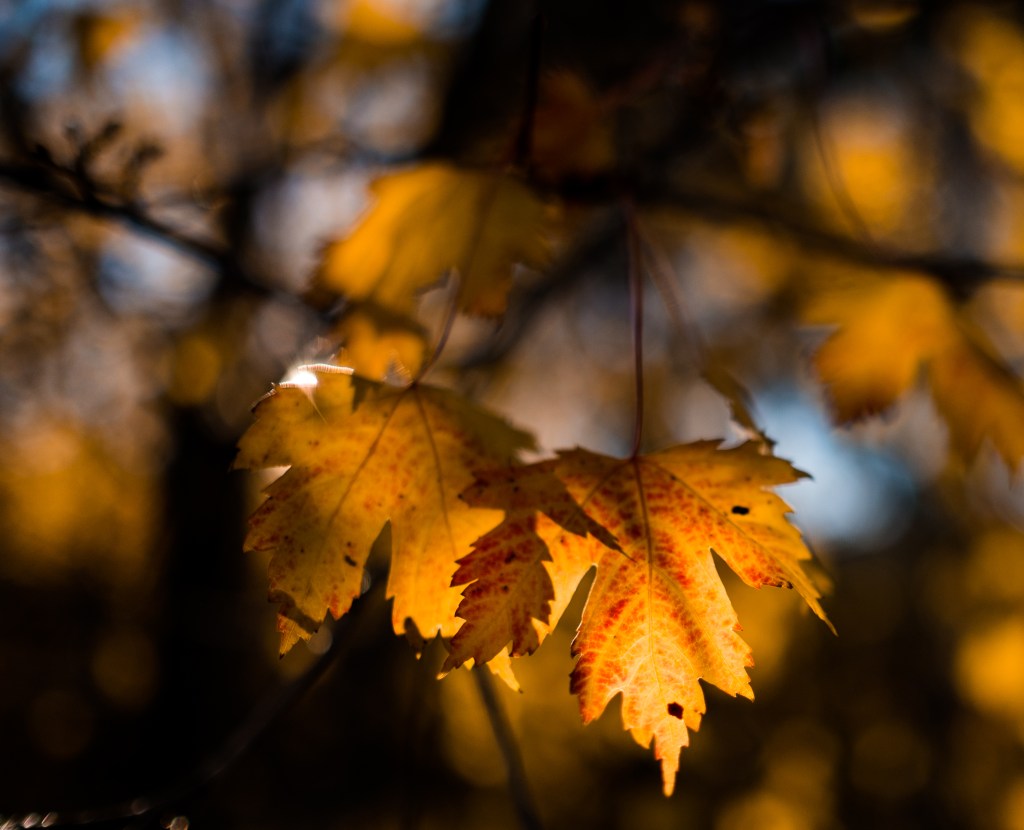
The best fall color photos employ good directional sunlight. This often includes back-lit trees from low sunlight, but this isn’t always the case. Sometimes you will encounter trees with foliage too thick for the sun to shine through.
Going back to exploring angles: pay attention to which vantage point shows the the leaves the brightest. You can even use your polarizing filter to further accentuate the effect by darkening the sky.
9. Exposure.
Alway underexpose to keep the detail in the worm colors and highlights. it is tempting to over-expose to shot more “pop” in the leaves, but it is too easy to loose color detail in the blown highlights. Use your camera’s histogram to make sure you are not losing detail.
10. Don’t over do it in post.
It is very tempting to push the saturation slider on editing software at home. Try to refrain from over-saturations your fall color images. While a little saturation boost and tone editing can help make the photos pop, don’t underestimate the natural beauty of the scenes you just captured. People will by awed by your work regardless — you don’t need to embellish it from over-editing.
Other shooting tips:
– Fall foliage always looks best against a dark blue sky. Don’t loose the foliage against other trees, buildings, hills, etc.
– Don’t forget close-up shots of bright, back-lit leaves.
– Look for foreground interest to add to your framing.


You must be logged in to post a comment.